
How do I upload or edit my photo to my resume?
Many of resume.io’s professionally designed templates include the option to add a photo to your resume. Here’s how to do this:
Log in to your account and within your documents section, choose the resume you’d like to add a photo to.
Open the resume within the builder.
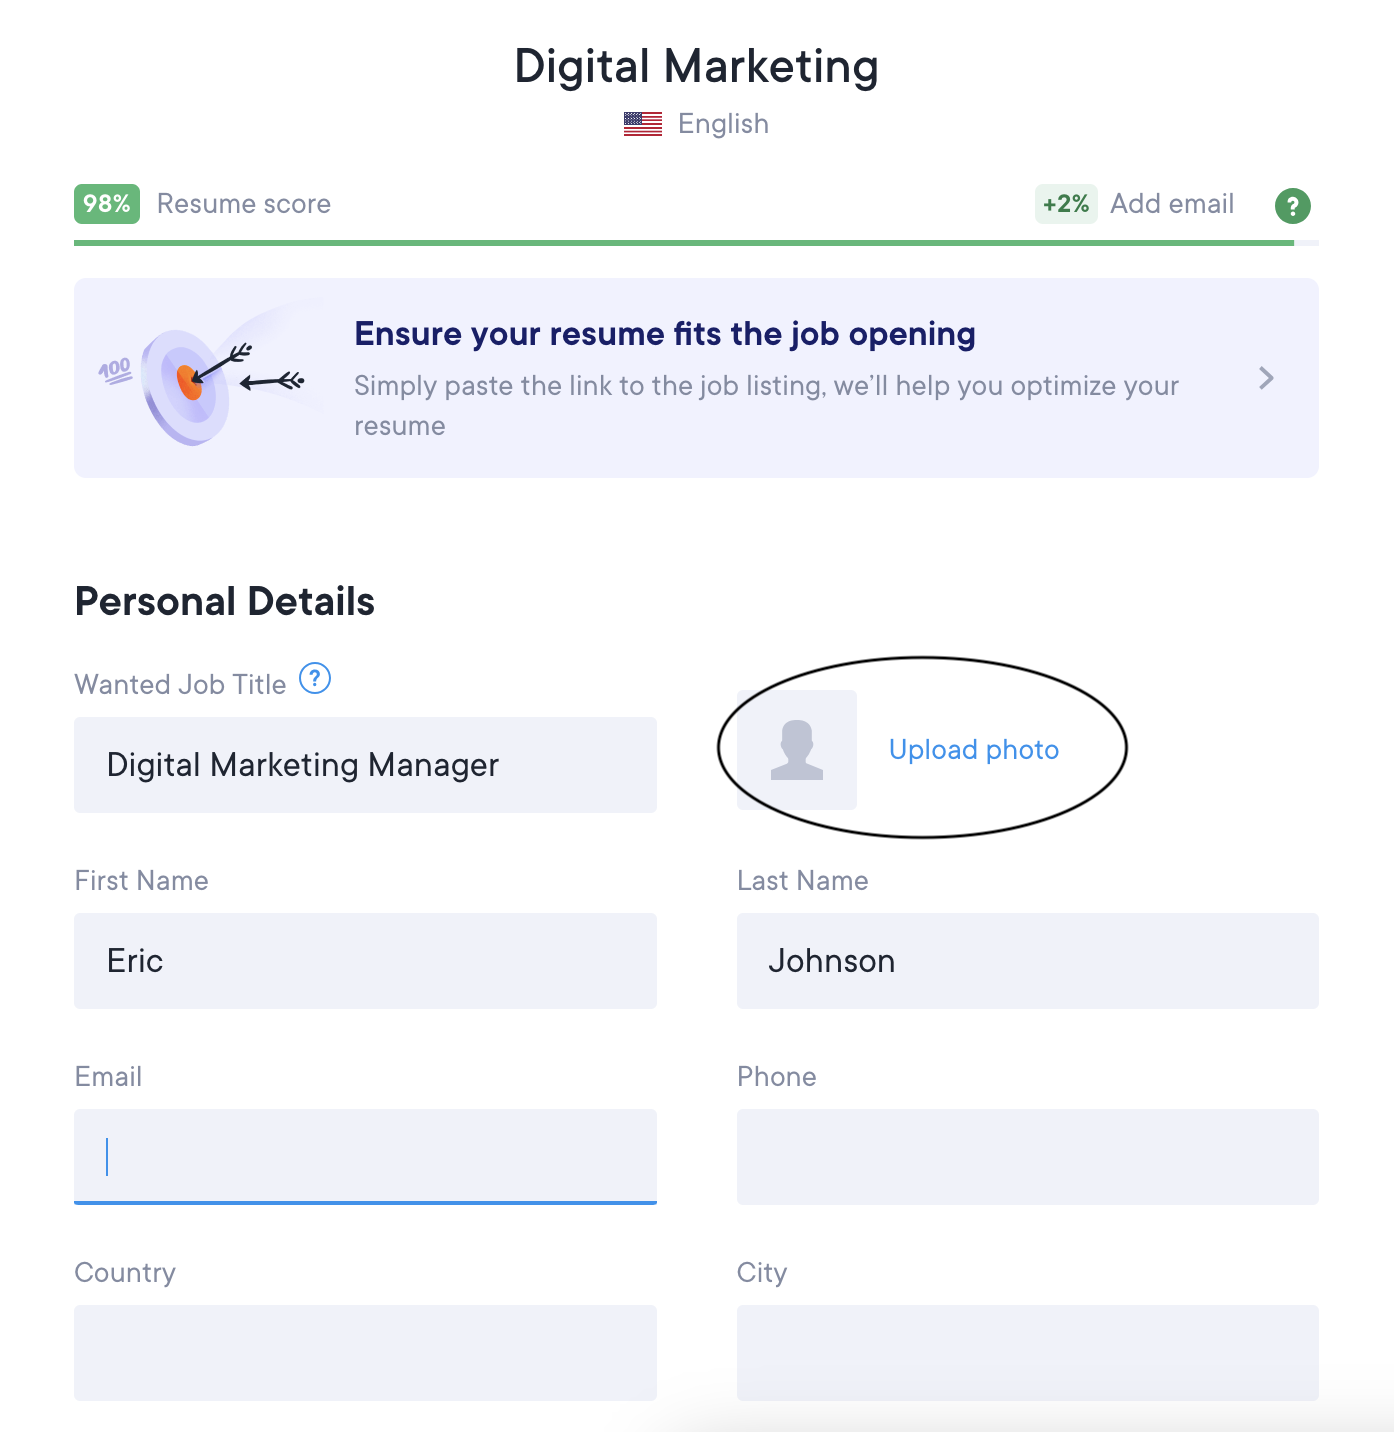
Click “Upload photo” located on the left side of the page next to your job title.
Once you’ve uploaded a photo from your computer, you’ll be able to crop, rotate, and reposition your photo or even modify the background.
Click “Save changes” to insert your photo into your resume.
Once inserted, you can change, modify, or delete your photo at any time using the options next to your photo preview within the builder.

We recommend using a square image for your resume that has a 1:1 ratio and at least 600 x 600 pixels. If you have any difficulty uploading your photo, try using a different browser. We recommend Chrome as it’s our most supported browser.
Please note that once you’ve inserted your photo, you will not be able to adjust its location on your resume as all our templates are built with a designated photo space that cannot be modified by the user.
Remember, different countries have varying customs when it comes to adding a professional photo to your resume. Read more about whether or not to include your photo on your resume here.